OHHHHHKAY. So I have March's meal post ready to go. MARCH? (Yeah, March). I know I'm behind, but starting a new job and moving to a new city and living with people is so much more time consuming than I could have imagined. I was much better about blogging while living in Oklahoma City, but I've also been working out a ton and going on trips and reading and and and....
Doing a month a meal really isn't realistic for me right now. I need quick, easy meals that I know how to do without thinking about them. But, I still made March AND April's meals so I'll do a post on them.
March's meal wasn't nearly as difficult as January or February's meals. I decided (with the request & debit card of my parents) to make Lobster Tails. Ohhhh yeah. That's right. Lobster.
Doing a month a meal really isn't realistic for me right now. I need quick, easy meals that I know how to do without thinking about them. But, I still made March AND April's meals so I'll do a post on them.
March's meal wasn't nearly as difficult as January or February's meals. I decided (with the request & debit card of my parents) to make Lobster Tails. Ohhhh yeah. That's right. Lobster.
Even though it's expensive, lobster is super easy to make. You just need to season up some butter or oil & heat 'em up!
I decided I would trust one of Emeril's lobster dishes (Grilled Lobster Tails with Tarragon-Lemon Vinaigrette) & add Red Lobster Cheddar Bisquits on the side. I started with a Poached Shrimp Louie Salad (similar to Elephant Bar, but without crab) & made Mini Blackberry Cheesecakes
Because I needed them to chill in the fridge, I made the Mini Blackberry Cheesecakes FIRST. Since I basically have 3 courses & a side, I'm going to do this recipe in 4 different posts. Hopefully that makes sense, plus it counts as four posts, so I'm going to take advantage of it.
Enough excuses explanation ado: onto the MINI BLACKBERRY CHEESECAKES!!
Total Cook Time: 45 min to prep, 45 min to cook, 15 minutes to finish it off: 1 hour 45 minutes.
Serves: Mine served 6, but that was because I only had 6 ramekins. This recipe would have made a whole cake :)
Serves: Mine served 6, but that was because I only had 6 ramekins. This recipe would have made a whole cake :)
Here's all the stuff you need: 1 box Vanilla Wafers, 1/2 cup pecans, 1 stick (1/2 cup) butter, 1 1/2 tsp Vanilla, 3 packages 8 oz Cream Cheese, 1 1/2 cup sugar, 4 whole eggs, 1/2 cup sour cream, 2 cups blackberries, 1/2 cup Splenda, 2 tbsp water

Equipment: Food processor, Food Mixer, Mini Ramekin cups, Saucepan, Utensils
1. Preheat oven to 350F
2. Combine 'Nilla Wafers & pecons into the food processor & pulse until they become a crumby mixture.

3. Melt the butter, add 1 1/2 tsp vanilla extract and mix with the crumbs. If I could do it over again, I wouldn't add all of the butter at once & I would stop when the mixture was doughy (not greasy)


4. Press the crust mixture into the bottom & sides of the ramekin cups & set aside.

5. Beat the cream cheese & sugar in the food mixer until smooth.
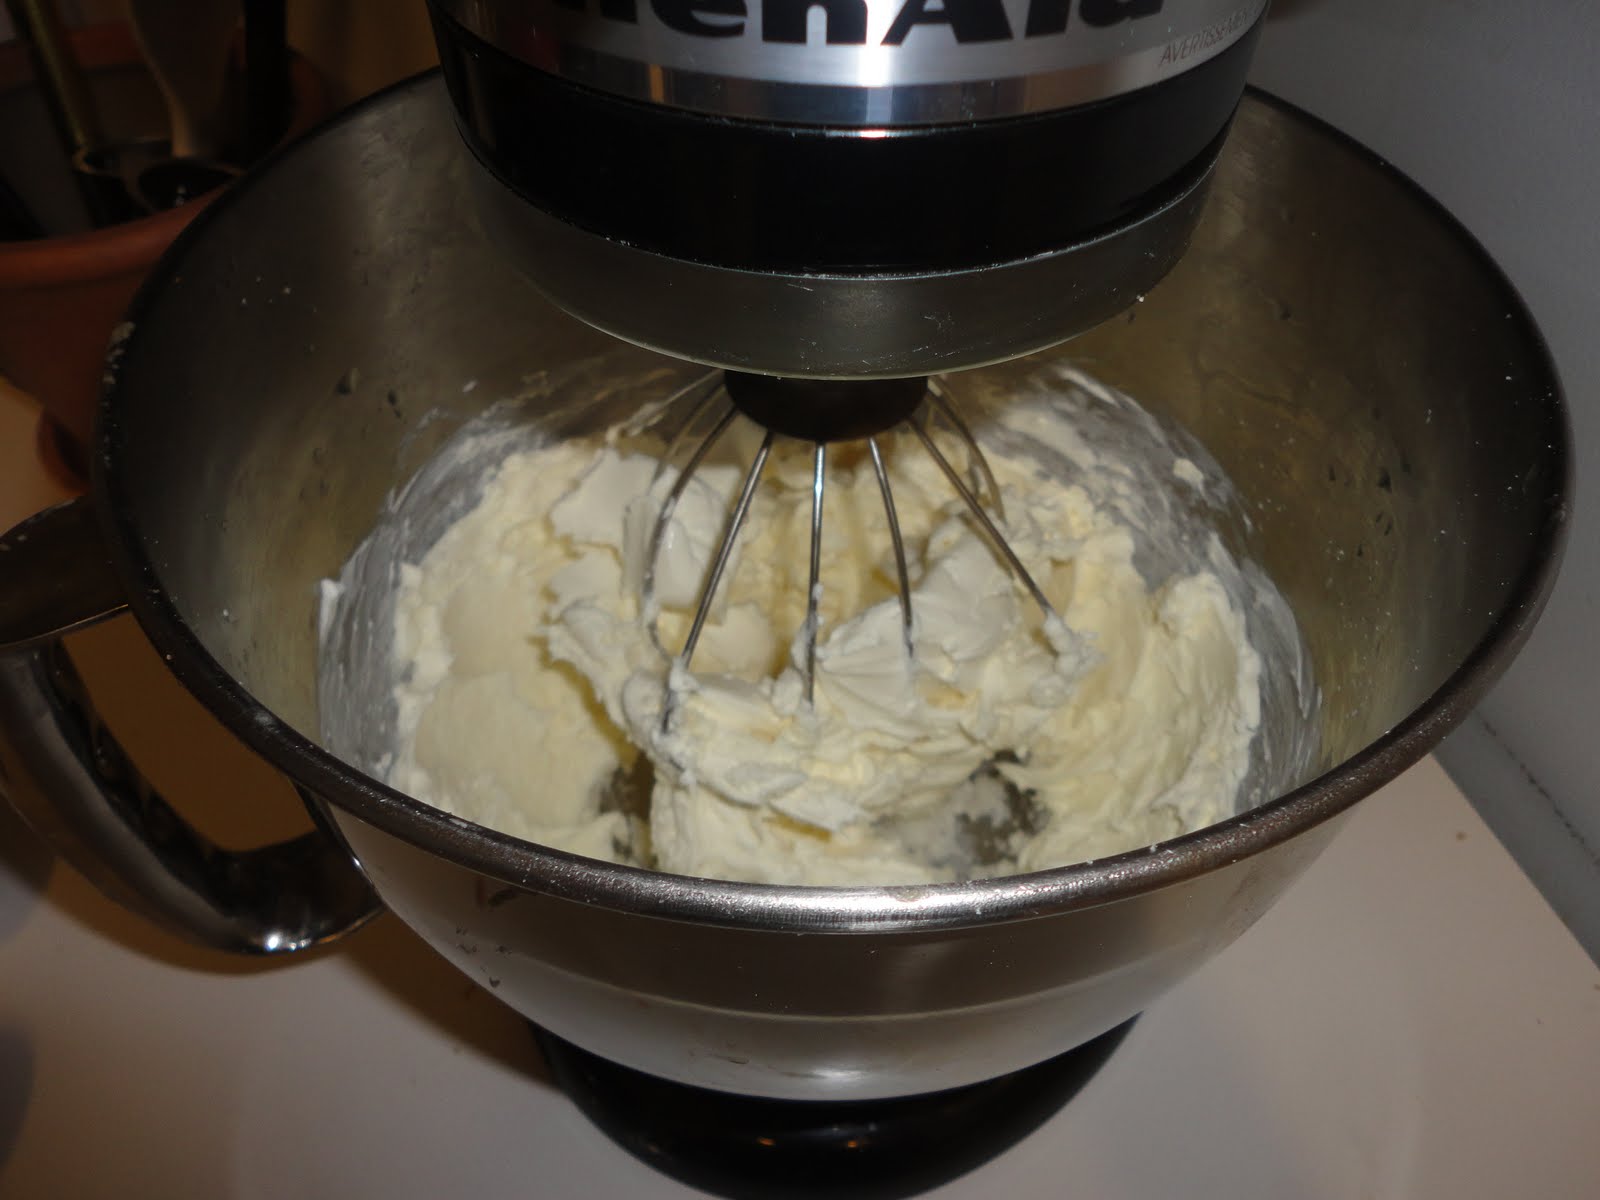
6. Add eggs (4) one at a time & beat thoroughly after you add each.

7. Add the sour cream & continue to mix.


8. When the filling is how you like it, pour the mixture into each ramekin. Leave about 1/4 " from the top so the filling can expand & smooth the top.
 |
| CAUTION: THESE ARE TOO FULL! |
9. If you are making a cake, bake for about 1 hour 10 minutes. If you are make minis, they should take NO MORE than 30 minutes, so watch 'em! (I was basically 1 minute away from burning mine....no pics here because they looked terrible and not how they should).
10. Turn the oven off, open the door, and allow the cake(s) to sit in the oven with the door open for a few minutes.
11. Remove the cheesecake from the oven and allow to cool on the counter while you make the topping.
12. Combine Blackberries, 1/2 cup Splenda & 2 tbsps water to a saucepan. Bring to a boil on medium heat & let cook for 4 to 5 minutes.


13. Remove the topping from the stove & allow to cool for 3-4 minutes.
14. Pour the blackberries over the cake or minis & place in the fridge for 2 or more hours (the more the better)!!
 |
| I can tell you that this was the best cheesecake I've ever had...even if they were slightly overdone. |


