I found a plain white coffee mug at HomeGoods for $2.00 about a year ago that I intended to makeover as a gift. I lost it until I moved recently, so this was the perfect mug to DIY.

Inspiration came from Pinterest. It was an obvious choice, seeing as how to date I have 216 pins on my DIY...Someday board and only 8 on the Completed Pinterest Projects board. #pickuptheslack
.jpg)
This beautiful gold "dipped" mug from Garland of Grace

Because science is cool, from Tula Tinker's Etsy Shop
In honor of my boyfriend's favorite insurance commercial/office catch phrase/t-shirt...from PickMeCups' Etsy Shop

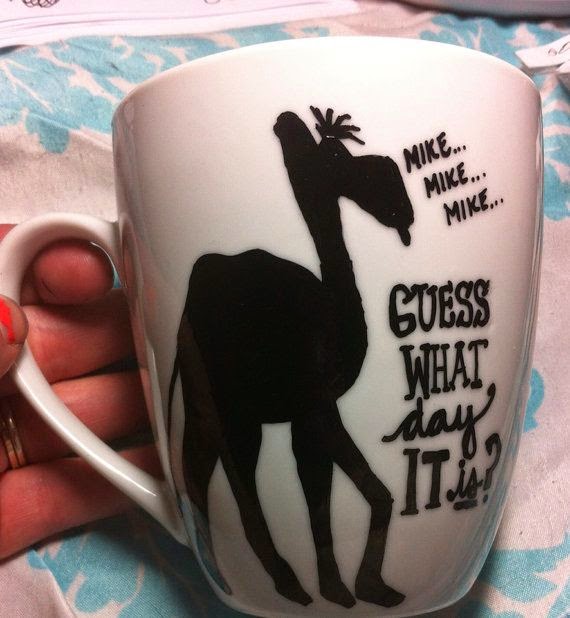
This one from Whole Wild World's Etsy Shop

Yes Missy's Sharpie Projects...25 great ideas for Sharpie crafts!!

Something personalized from Designer Trapped in Lawyer's Body
I knew I didn't want to do this in black, so I first tried out some gold Sharpies. I found that they dried out pretty quickly, so I opted for a paint pen and got to designing! If you decide to go the Sharpie route, make sure you get the oil-based Sharpies so that your colors are colorful and your blacks are true...and so it lasts more than one wash!!

Ceramic Mug
Gold or Silver Paint Pen (mine was Craftsmart brand from Michaels, $2.29)
Oven
Recommended Tools:
Acetone-based nail polish remove
Q-tips
Cotton balls
Painter's Tape (optional)
Lint Free Cloth
Dawn dish soap
Directions:
- Hand wash mug with Dawn
- Dry, preferably with a microfiber or lint-free cloth
- With paint pen, begin drawing on the mug. I decided on polka dots because I am terrible at drawing and wanted something simple.
- Let the paint dry
- Inspect the mug, then touch up any spot that weren't completely filled
- Let the mug air dry for 24 hours
- Bake at 300F for 30 minutes.
- Turn the oven off and let mug cool completely while remaining in the oven.
Tips:
- Practice your drawing on paper. If your drawing is complicated, you can sketch it out with pencil. Taping the drawing (pencil-side down) on the mug and drawing over the outlines will create a light transfer onto the mug to guide you.
- Painter's Tape is ideal for straight lines, but some mug shapes are too difficult to get even tape lines. This was definitely a problem for me!
- If you make a mistake, dip a Q-tip into the nail polish remover and swirl in small circles. The paint should come off quickly, then wipe up paint flakes with a cotton ball (or the dry end of the Q-Tip)

I think it turned out very cute!
I chose polka dots because it was simple and fun, but also because I am terrible at drawing. I tried to make the handle completely gold, but I could not get the pen into all the crevices. If I had a smaller tipped paint pen, it would have been much easier! The nail polish remover worked like a charm, though!
I really considered writing on the mug, but decided not to with this one, and had I not been too excited to get started on this project I would have likely gone to get a stencil like the example above. I can't wait to make the next one!
No comments:
Post a Comment